The key to making rice non stick to the pot lies in controlling the moisture ratio and cooking techniques, mainly including selecting the right type of rice, soaking it in advance, controlling the amount of water, adjusting the heat, and turning it loose when leaving the pot.
1. Choosing the right type of rice
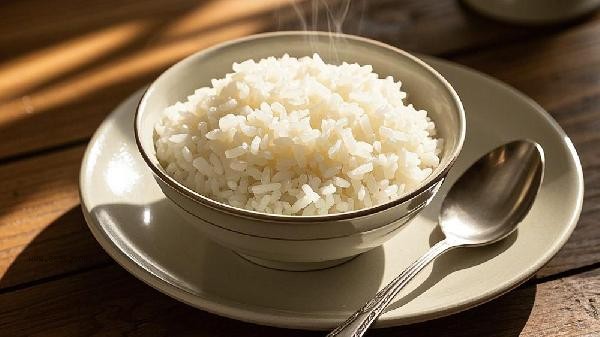
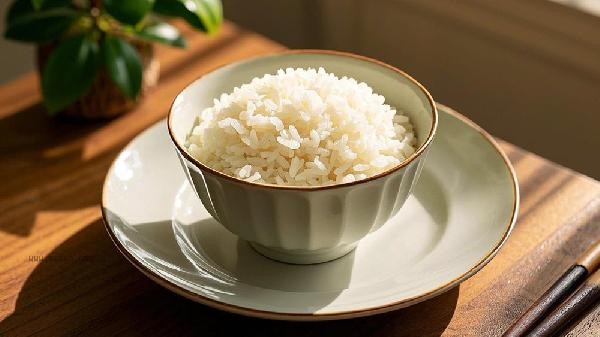
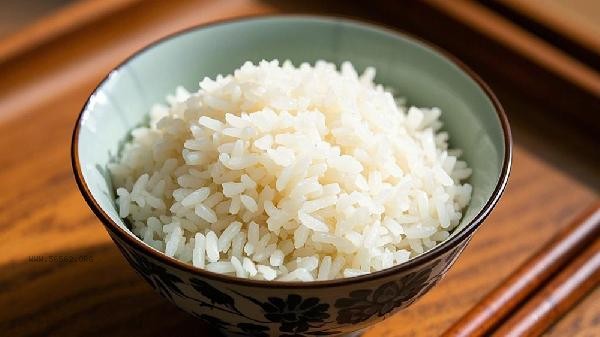
Japonica rice is more suitable for cooking non stick rice than indica rice because it has a lower content of amylose and moderate viscosity. Short grain rice such as Northeastern rice and pearl rice have distinct and less likely to stick to the bottom of the pot after cooking. When purchasing, you can observe the appearance of the rice grains and choose products with full grains and high transparency. Avoid using aged rice or rice with a high rate of broken rice, as uneven water absorption can lead to local gelatinization.
2. Pre soaking
Wash and soak in cold water for 30 minutes to allow the rice grains to fully absorb water and make the starch gelatinization more uniform. Room temperature water can be used in summer, and it is recommended to use warm water to shorten the soaking time in winter. After soaking, it is best for the rice grains to be milky white and semi transparent. Pour out the soaking water and add clean water again to cook. This method can reduce the direct friction between rice grains and the bottom of the pot during cooking, and lower the probability of adhesion.
3. Water quantity control
The ratio of rice to water should be adjusted at 1:1.2-1.5, and new rice can be reduced to 1:1.1. Insert the index finger vertically into the rice surface until the water level reaches the middle of the first phalanx, which is appropriate. When using a rice cooker, pay attention to the markings on the inner pot. Traditional iron pots require skimming off excess rice soup on the surface when turning low heat after boiling. Excessive moisture can cause rice grains to swell and break excessively, and starch to seep out and increase viscosity.
4. Heat adjustment
After boiling on high heat, immediately turn to low heat and simmer. Start timing for 15 minutes after the steam hole has emitted gas. Traditional iron pots require a small amount of cooking oil to be poured along the edge of the pot to form a non stick layer, and the lid must not be removed during this period. After turning off the heat, continue to simmer for 10 minutes and use the remaining temperature to evenly distribute the water. This step can form a complete crust at the bottom of the pot without burning.
5. Remove from the pot and loosen
Use a wooden spatula to draw a circle along the edge of the pot to loosen the rice, and then flip the entire pot of rice into a container to dissipate heat. If using an electric rice cooker, you can use the matching rice spoon to make a vertical cross and then loosen it horizontally. The surface of freshly cooked rice will form a layer of water vapor. Let it stand for 2 minutes to allow the water to absorb before serving, which can maintain the elasticity of the rice grains and prevent clumping.
For daily cooking, thick bottomed stainless steel pots or cast iron pots can be used, which have better thermal conductivity uniformity than thin-walled aluminum pots. Before using a new pot, it is necessary to boil it with lard to form an oxide layer. After each cooking, clean it promptly with a soft cloth to avoid the accumulation of carbonization layer. If there is sticking to the pot, soak it in warm water and gently scrub it. Do not use a steel wire ball to scratch the pot body. Paired with bamboo steamer cloth or silicone mat for steaming, it can further reduce the direct contact between rice and cooking utensils. Long term adherence to these methods can significantly improve the taste of rice and the lifespan of cooking utensils.


Comments (0)
Leave a Comment
No comments yet
Be the first to share your thoughts!