The newly purchased lunch box needs to be thoroughly cleaned and disinfected before its first use. The main steps include hot water washing, soaking in white vinegar, scrubbing with baking soda, boiling in water, and natural air drying.
1. Hot water hot stamping
Separate all detachable parts of the lunch box, and repeatedly rinse the inner and outer surfaces with hot water above 60 ℃. Hot water can effectively dissolve industrial grease and dust left at the factory. Pay special attention to the cleanliness of the sealing ring groove and threaded interface, as these areas are prone to hiding impurities. After rinsing, it is necessary to use a clean soft cloth to dry the water and avoid the growth of bacteria due to residual water stains.
2. Soak in white vinegar
Mix white vinegar with warm water in a ratio of 1:3, and completely immerse the lunch box in the solution for 30 minutes. Acetic acid can neutralize alkaline residues and remove plastic odors, and also has a polishing effect on stainless steel materials. After soaking, rinse with clean water at least 3 times to avoid residual acetic acid affecting the taste of food during subsequent use.
3. Baking Soda Scrubbing
Take a small amount of baking soda powder and mix it with warm water to make a paste. Dip a soft bristled brush into it and thoroughly scrub the inner wall of the lunch box. Baking soda's micro particles can physically remove pollutants from fine scratches, especially suitable for plastic materials. After scrubbing, let it stand for 10 minutes and then rinse with running water. For stubborn stains, repeat this step.
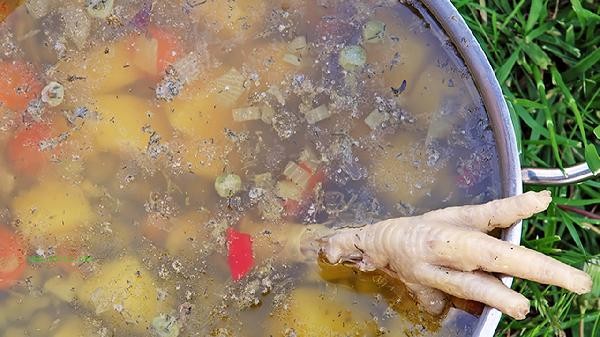
4. Boil the lunch box in boiling water
Put the lunch box into the pot and completely submerge it with water. After the water boils, keep it boiling for 5 minutes. High temperature steam can kill most microorganisms, making it particularly suitable for glass and metal lunch boxes. Plastic lunch boxes need to confirm their temperature resistance labels, as some materials may deform due to prolonged high temperatures. After boiling, let it cool naturally before removing to avoid material cracking caused by sudden cooling.
5. Natural Drying
After completing all cleaning steps, invert the lunch box in a ventilated area and let it dry naturally for more than 12 hours. Avoid wiping with a towel to prevent secondary pollution, and keep the lid open when drying to ensure complete internal dryness. In humid environments, an electric fan can be used to accelerate drying, and once thoroughly dried, it can be used normally.
In daily use, it is recommended to wipe the inner wall of the lunch box with lemon juice every week to keep it clean and avoid containing strong acid and alkali foods. Attention should be paid to taboos when using lunch boxes made of different materials. Plastic lunch boxes should not be stored for long periods of time with oily food, and stainless steel lunch boxes should avoid contact with sharp objects. If scratches or discoloration are found, they should be replaced in a timely manner. Generally, it is recommended to update lunch boxes after six months of use. Keep dry and ventilated during storage, and place activated carbon packs to absorb odors.


Comments (0)
Leave a Comment
No comments yet
Be the first to share your thoughts!